Guarantor Management
This guide walks you through the process of adding guarantors to a new loan and substituting a guarantor in the Debt Management module.
1. Adding Loan Guarantors to a New Loan
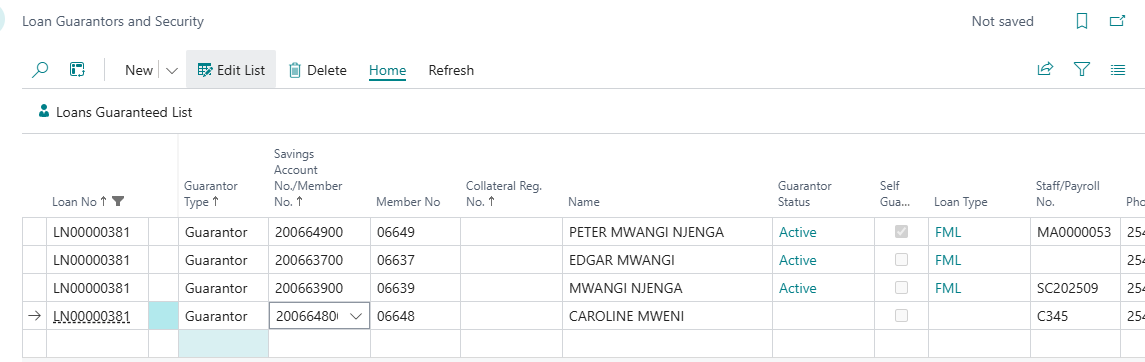
Once you’ve filled out the loan details in the Loan Application, proceed to the Guarantors & Security section.

Step 1: Add Guarantors
Add the required number of guarantors based on the loan criteria.
Step 2: Submit Loan
After adding the guarantors, proceed to apply for the loan as usual.
2. Guarantor Substitution
The Guarantor Substitution process allows you to replace an existing guarantor with another member.
Step 1: Access the Substitution List
From the Debt Management Unit dropdown, navigate to Guarantor Substitution → Open Guarantor Substitution List.
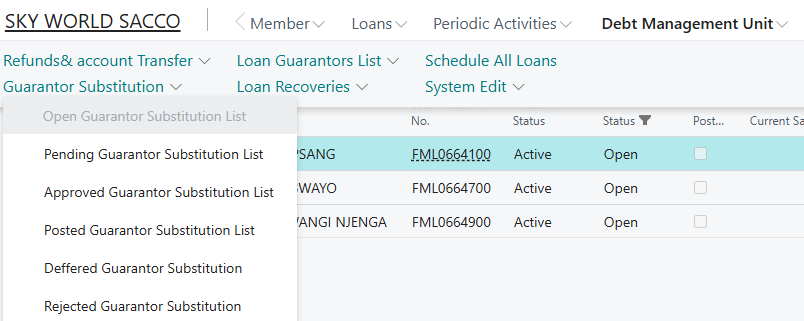
This will open the list of current guarantor substitution requests.
Step 2: Create a New Substitution Request
Click + New to open a new Guarantor Substitution Card.
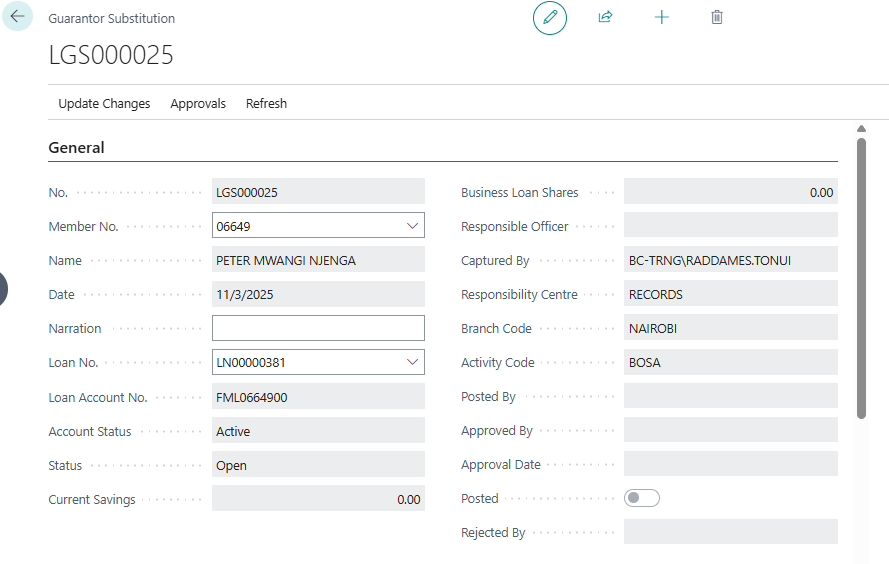
Enter the Member No. and Loan No. fields. The system will automatically populate the list of current guarantors.
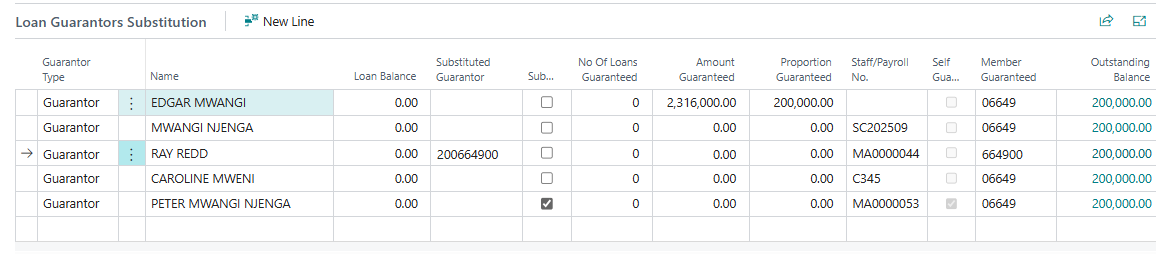
Step 3: Select and Substitute Guarantors
Select the guarantor to be substituted, then choose the new guarantor to replace them. The balance for the outgoing guarantor will be cleared, and the new guarantor will inherit the corresponding guarantee amount.
Step 4: Approval and Posting
Submit the substitution request for approval.
Once approved, the record will appear under the Approved Guarantor Substitution List. Select the member and click Update Changes to post it to the Posted Guarantor Substitution List.
If rejected it shall go to Rejected Guarantor Substitution
Tip: Always verify the substituted guarantor’s eligibility and balance before posting to ensure accurate records.