Sacco Loan Appraisal and Approval
Audience: Loan Officers, Credit/Appraisal Analysts, Branch Managers/Approvers, System Admins Version: 2025-11-05
Overview
This guide is a complete user reference for Sacco loan Appraisal and Approval processes in Business Central.
Process Flow
- Initiated Application Intake
- Appraisal (data capture, eligibility)
- Generate Payment Schedule
- Appraisal Report
- Send for Approval
- Approver Decision
- Ready for Disbursement
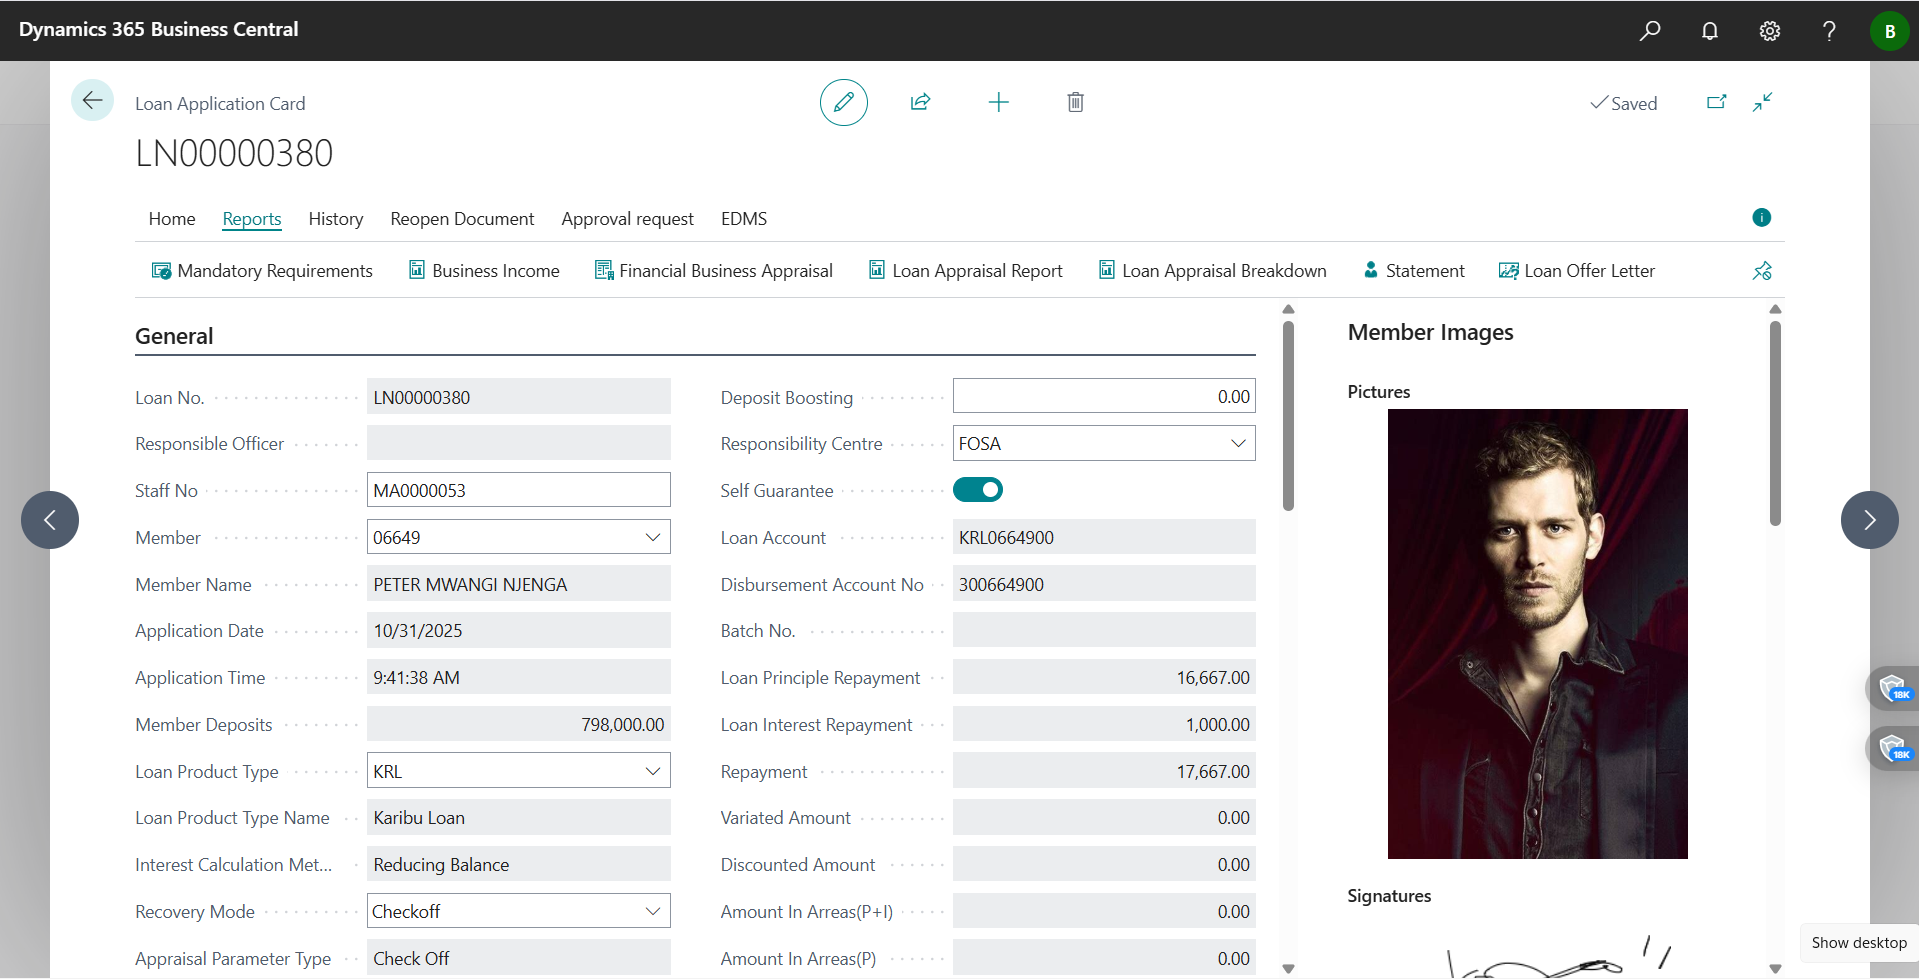
Step 1 — Start the Appraisal from the Loan Application
- On the Loan Application card, click the Appraisal action to expose the appraisal tools.
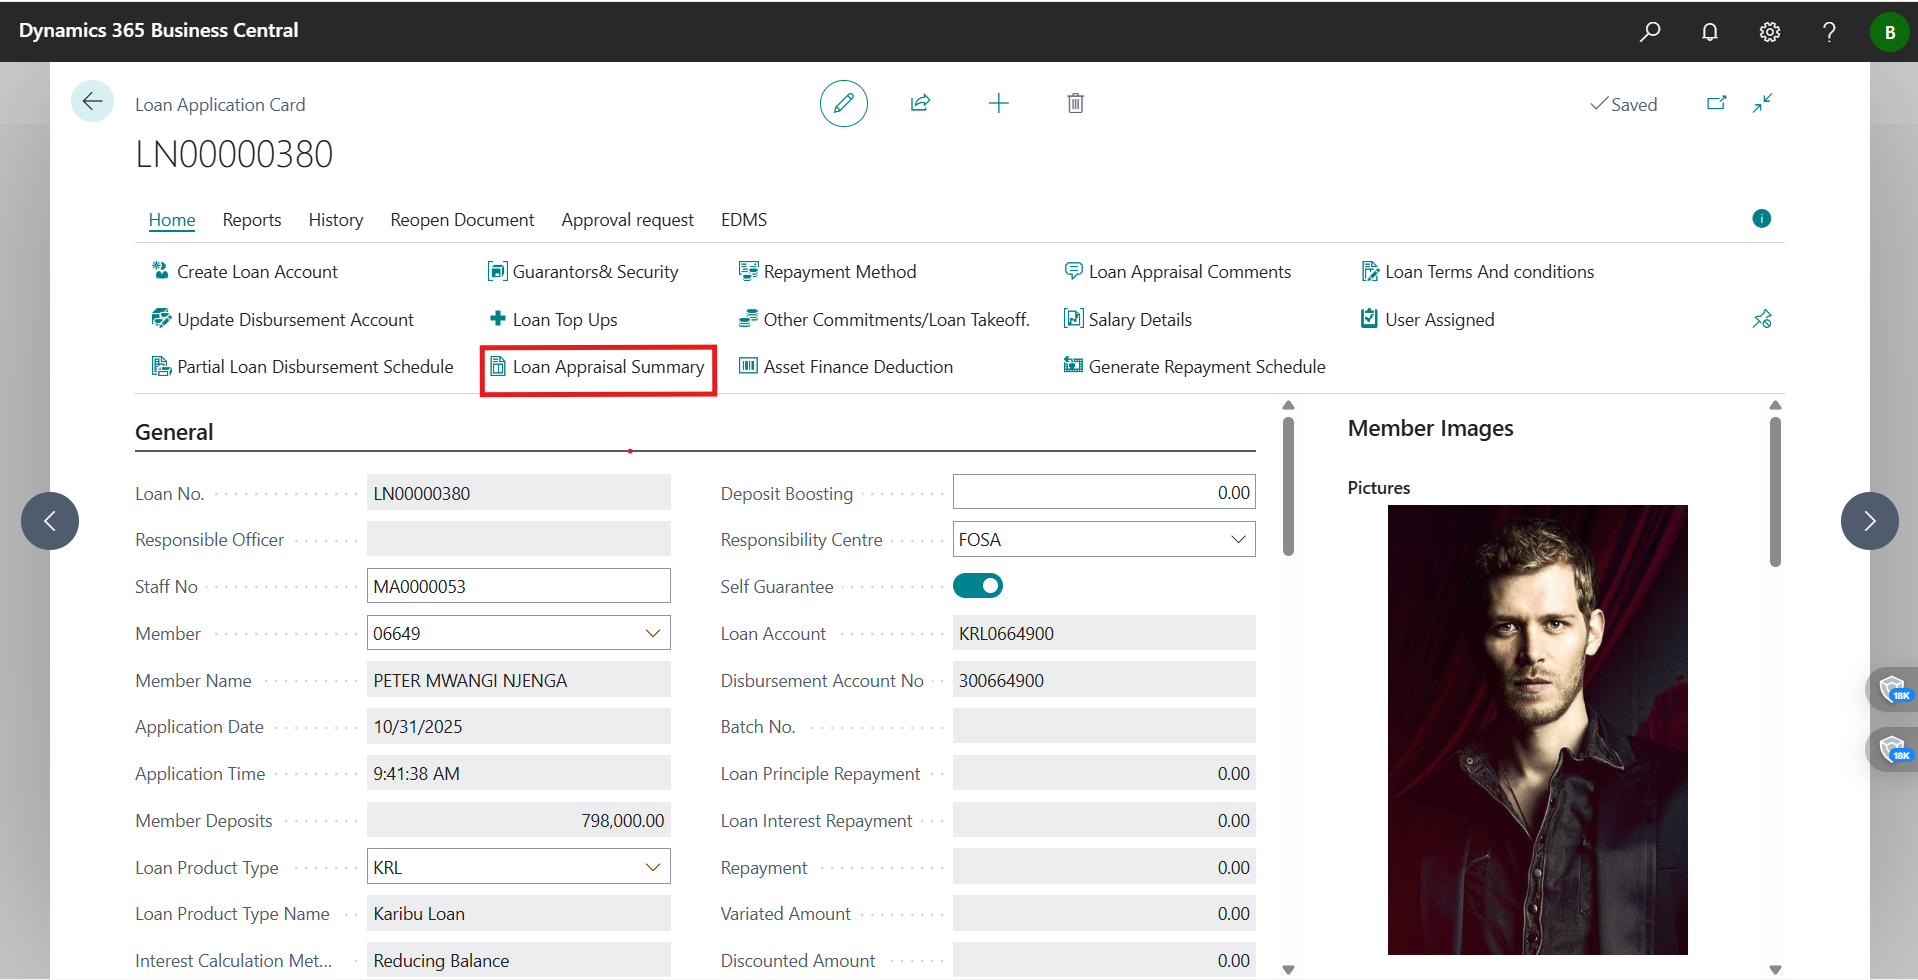
- Outcome: I can now access Eligibility Breakdown, Generate Payment Schedule, and Generate Appraisal Report.
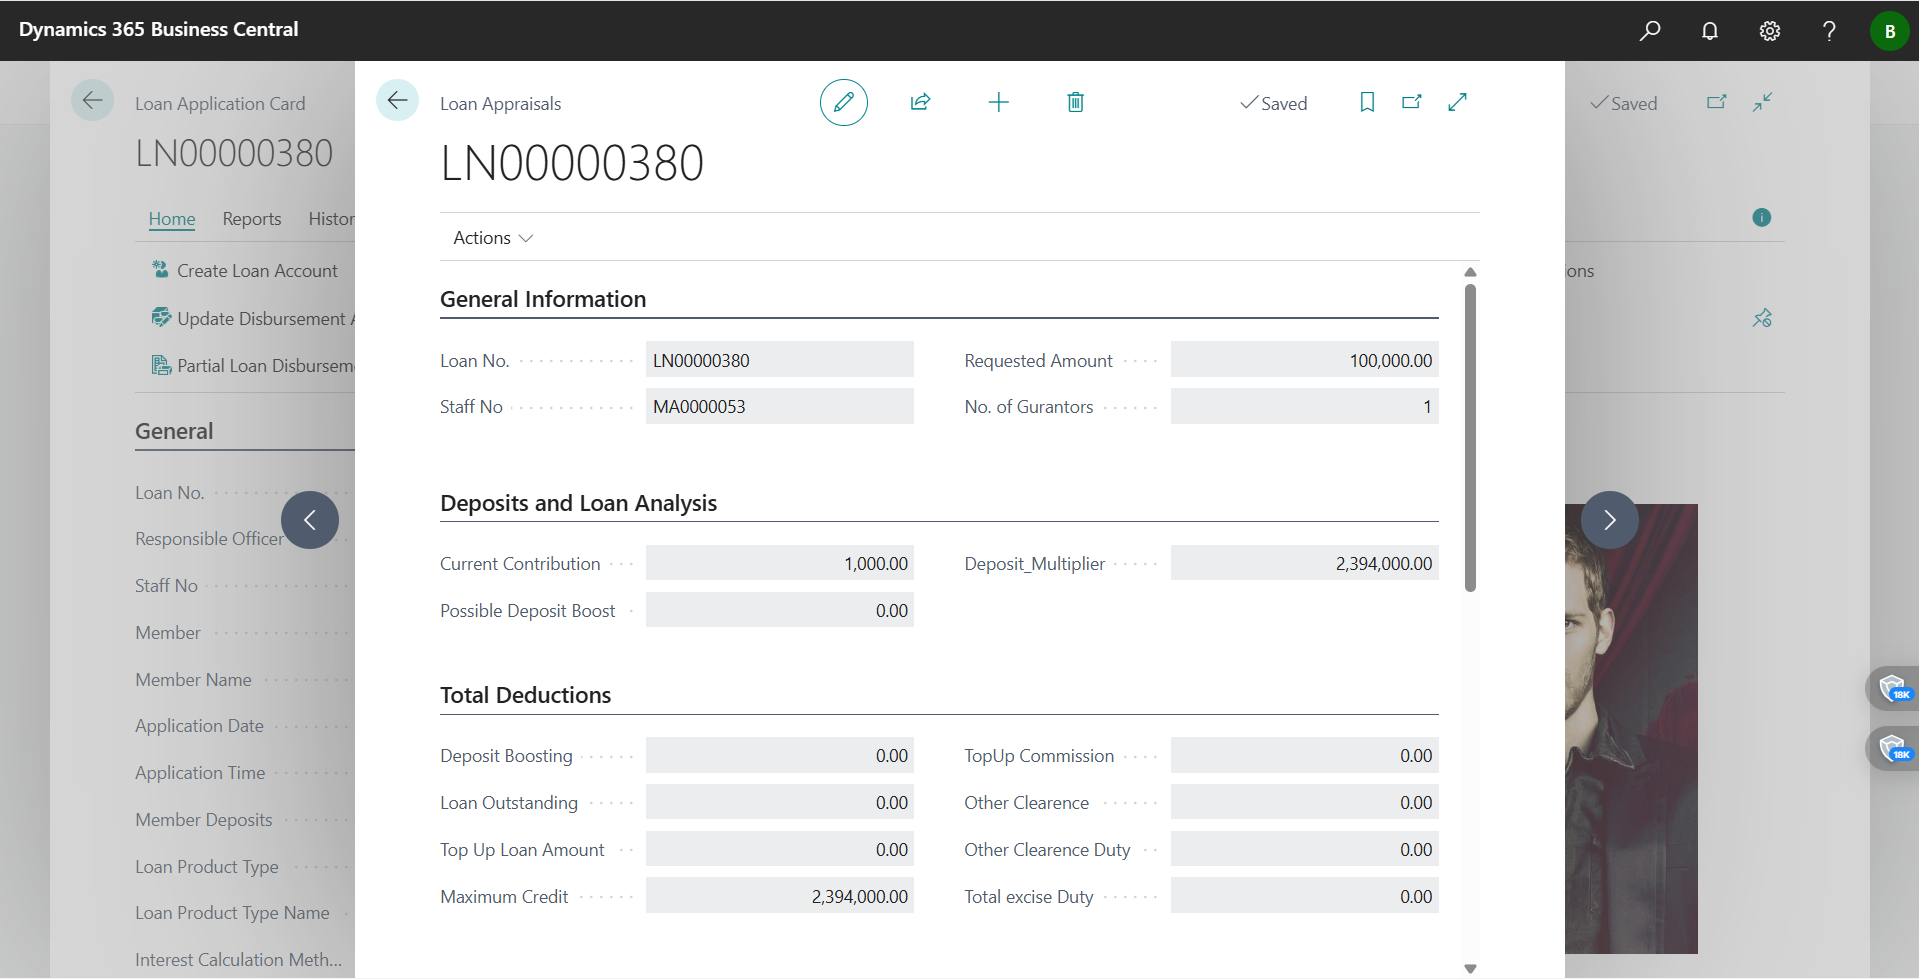
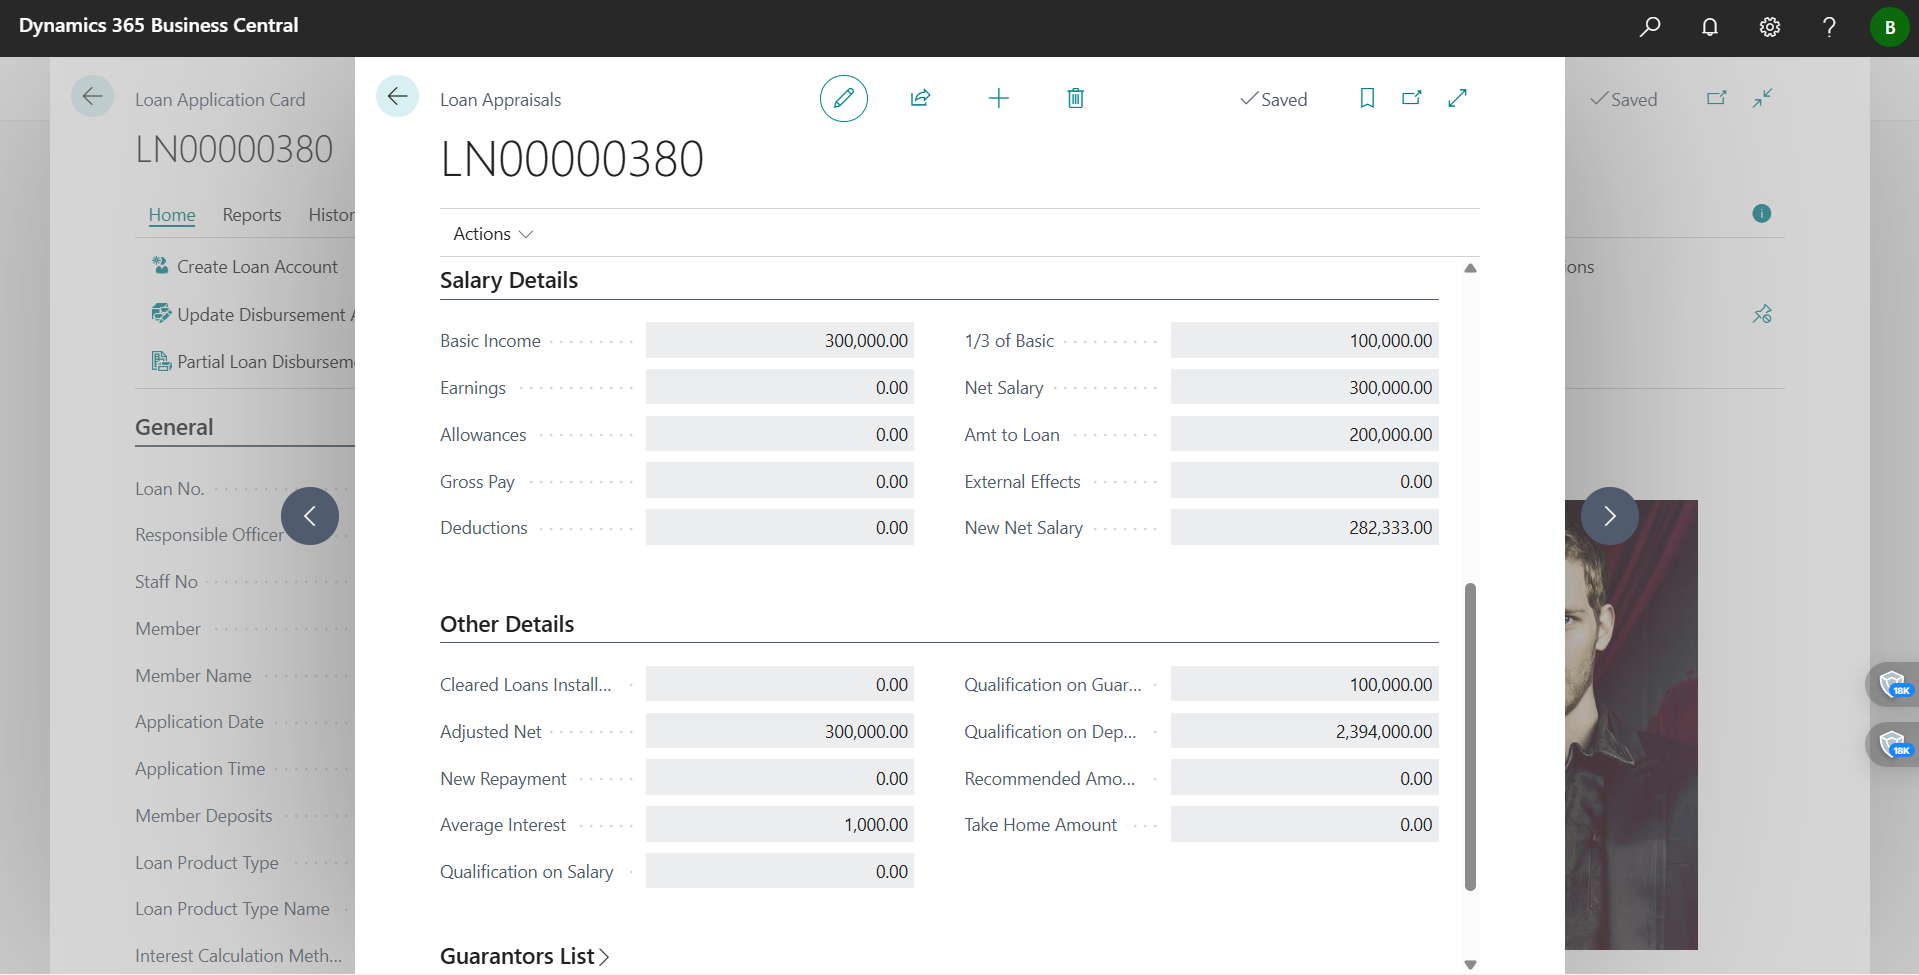
Step 2 — Capture the appraisal details (financials, collateral, guarantors)
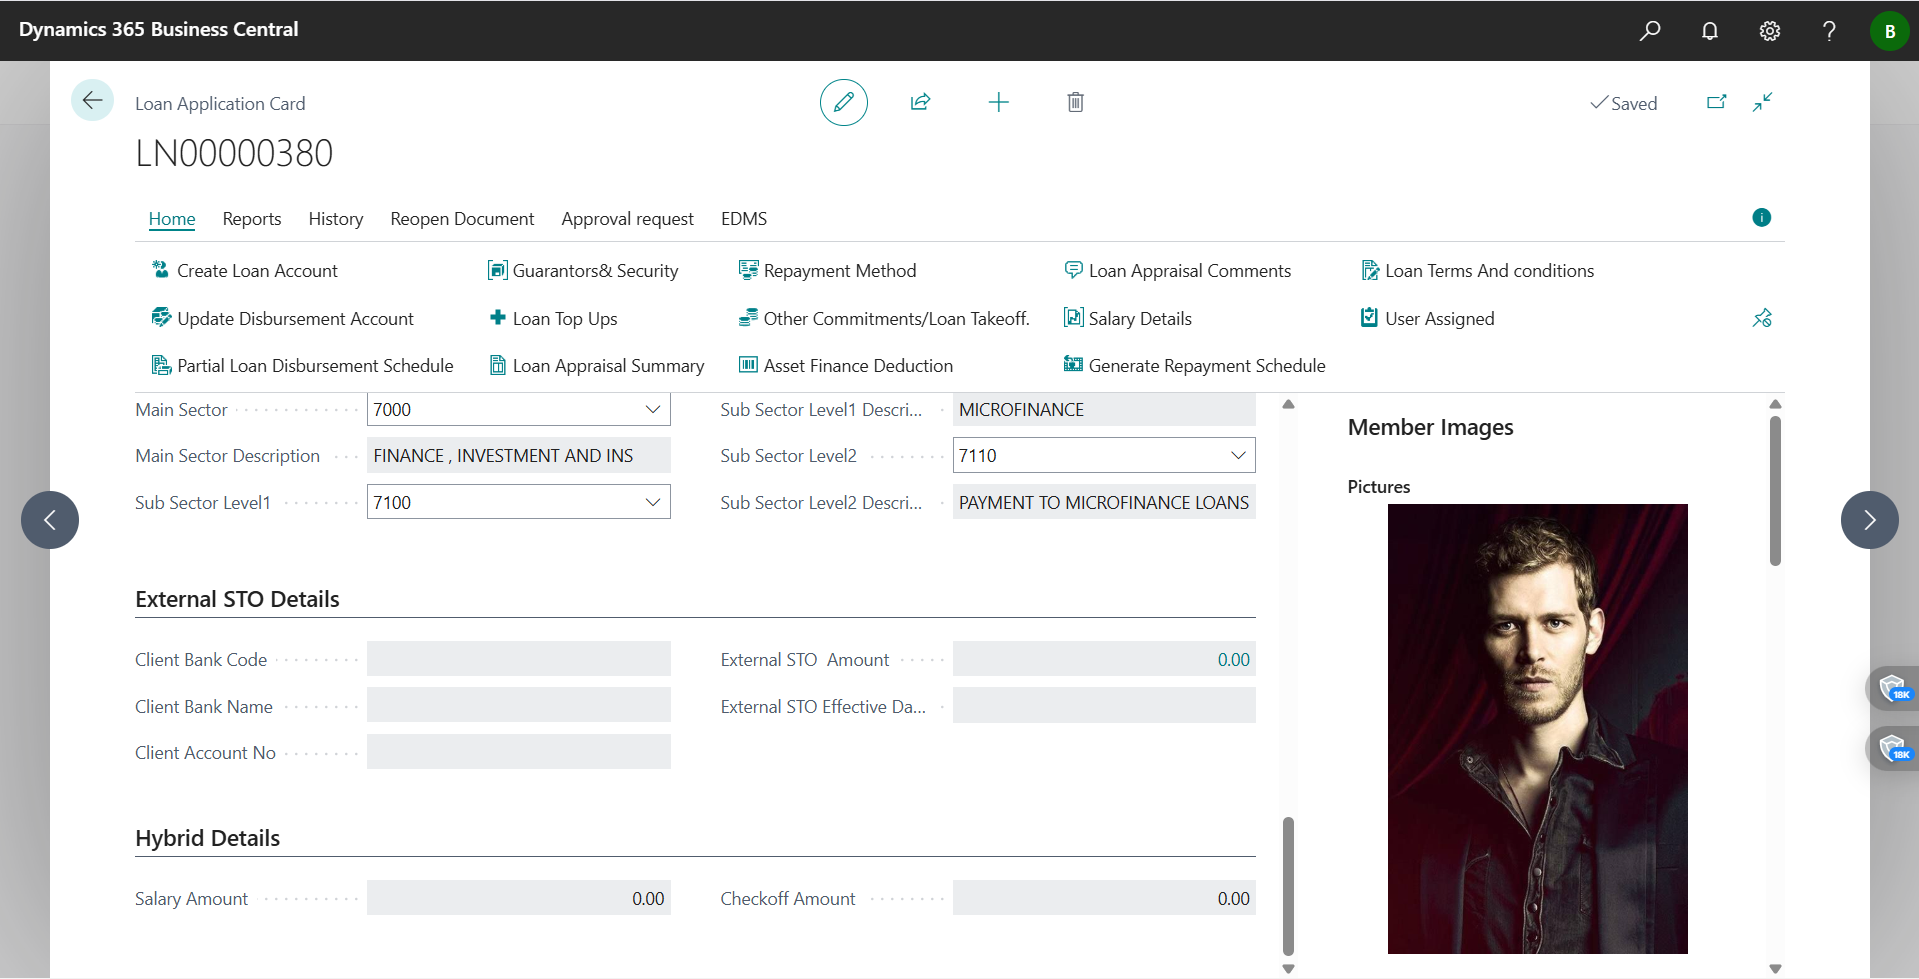
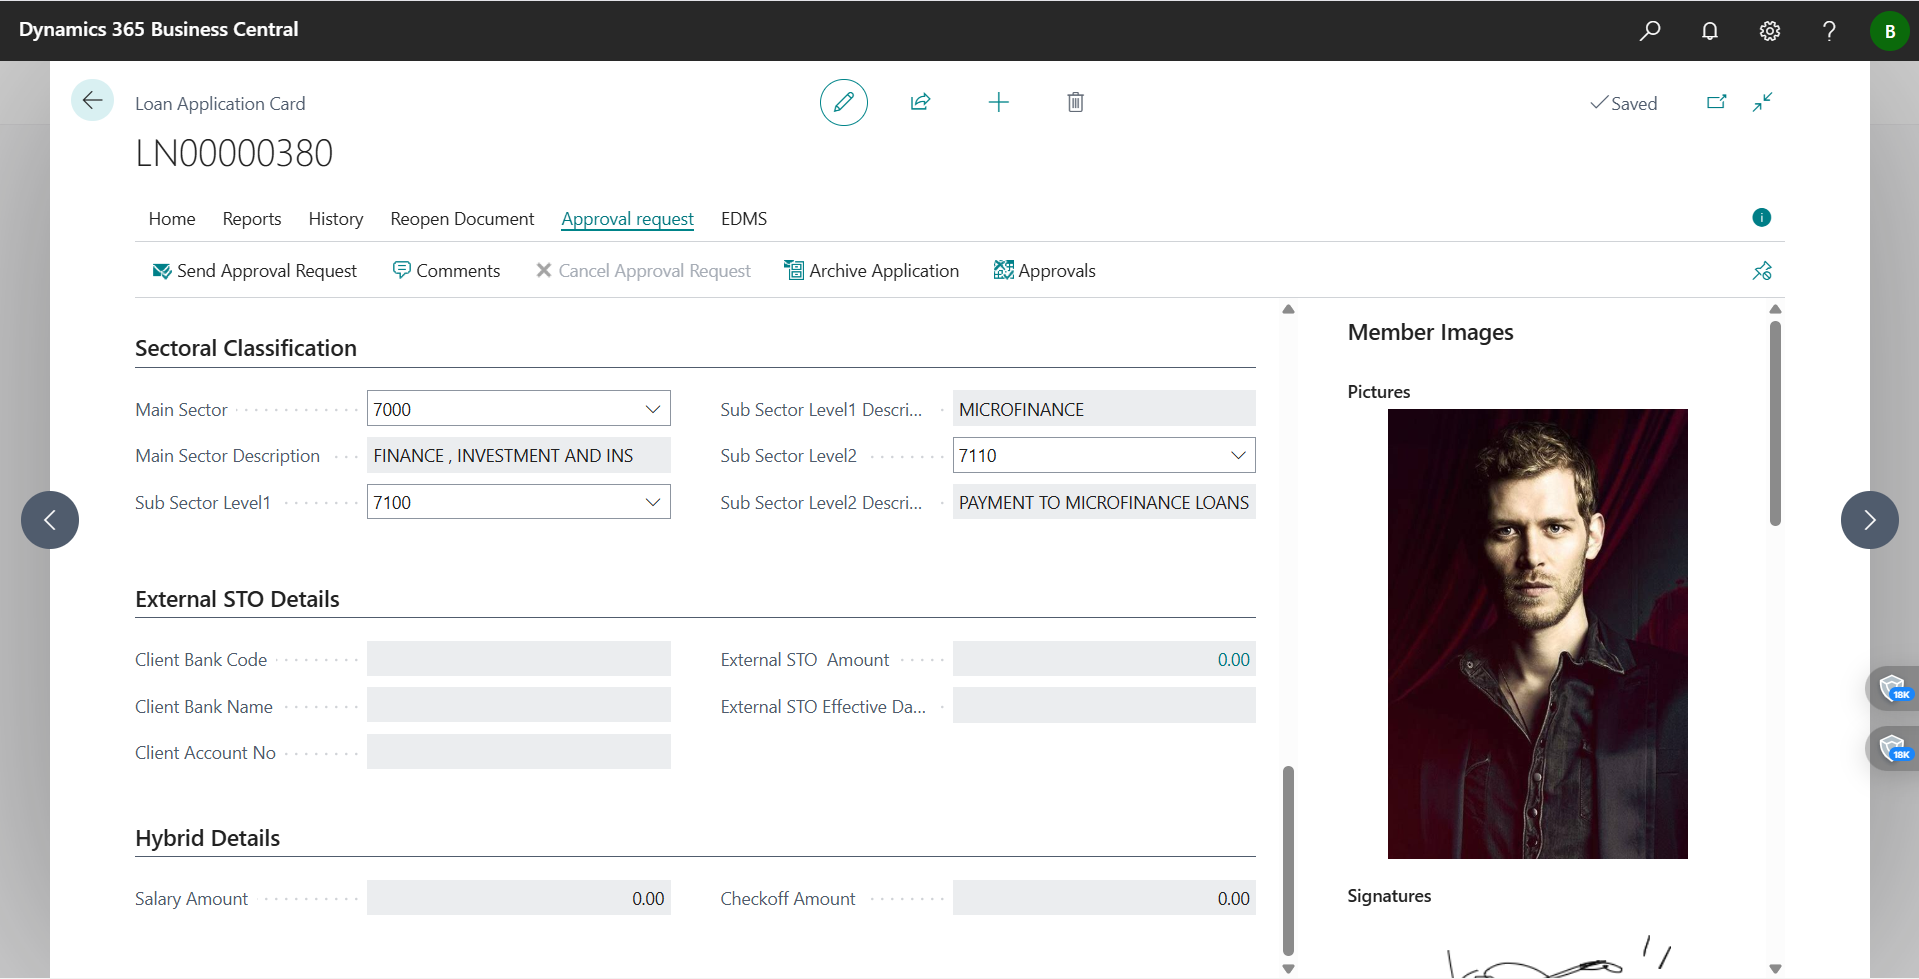
- Enter member income, other recurring income, existing loan obligations, deductions/expenses, and then capture collateral and guarantors as needed.
- check on the standard appraisal form to double‑check inputs and attach it to the application.
- Visuals for the card/views I worked on:
- Appraisal form: Loan Appraisal form.pdf

- Appraisal form: Loan Appraisal form.pdf
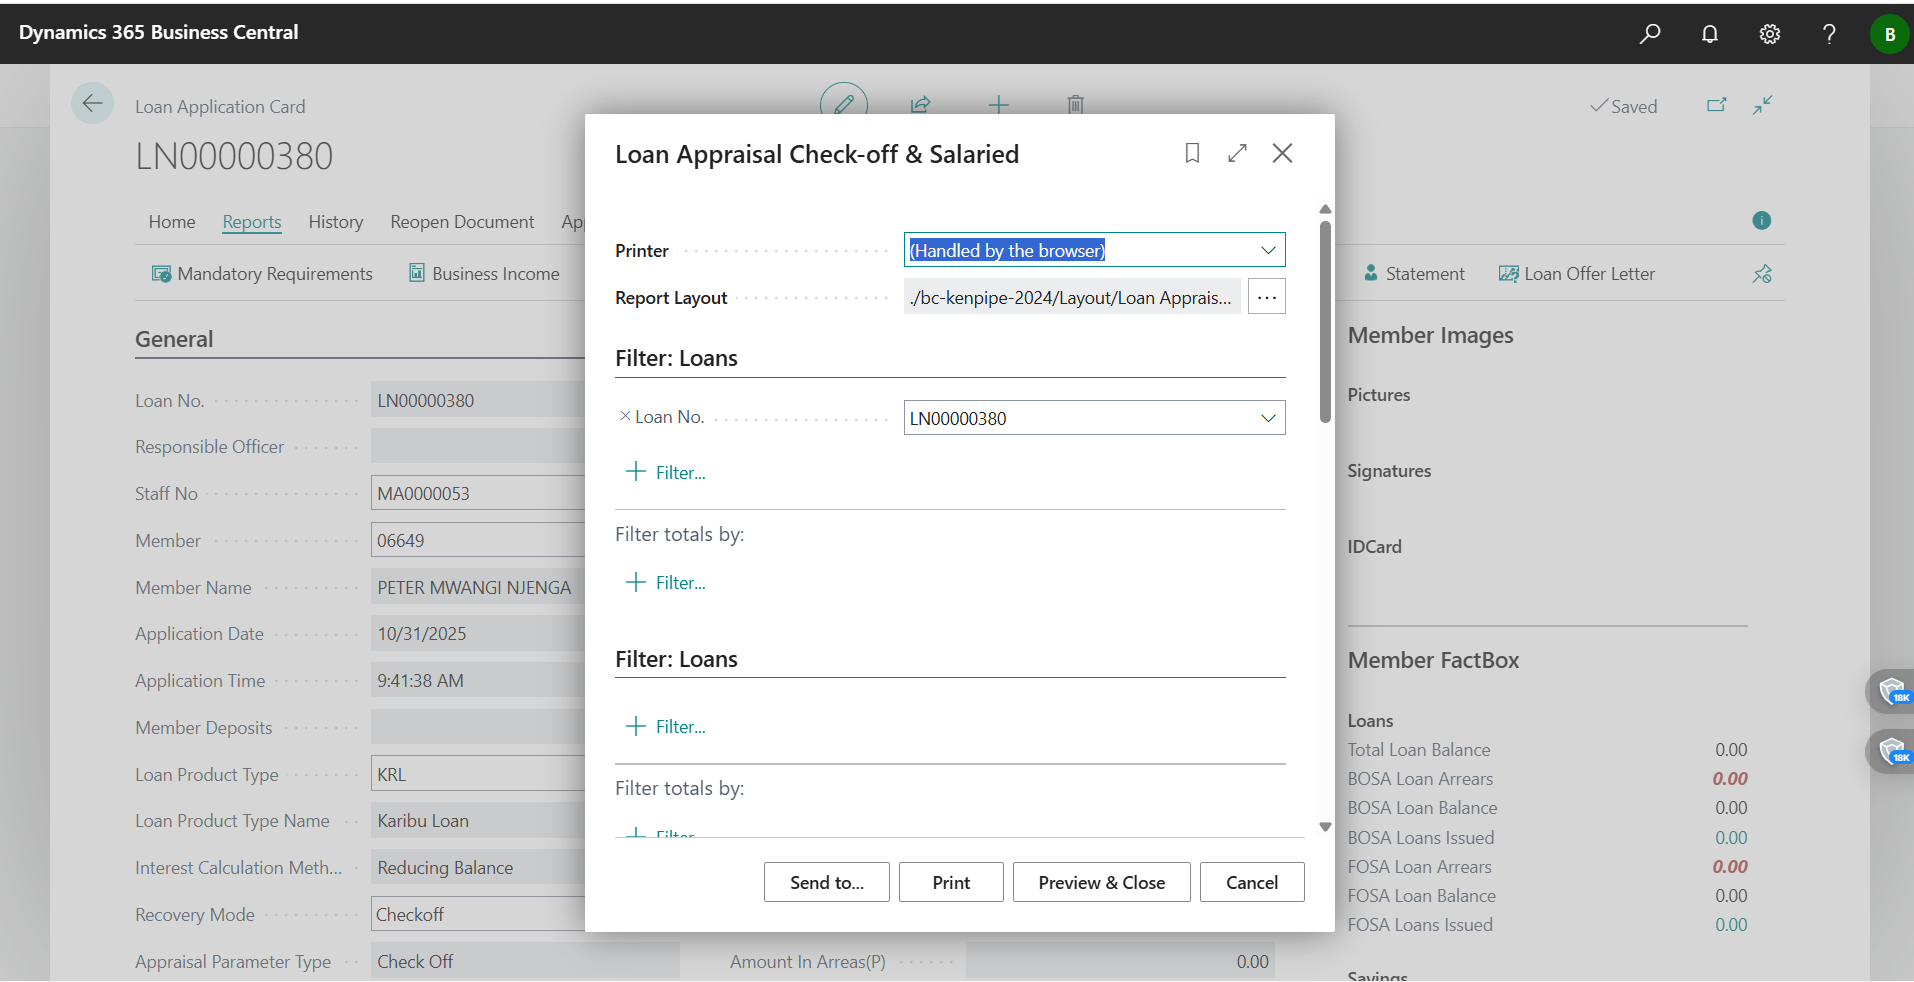
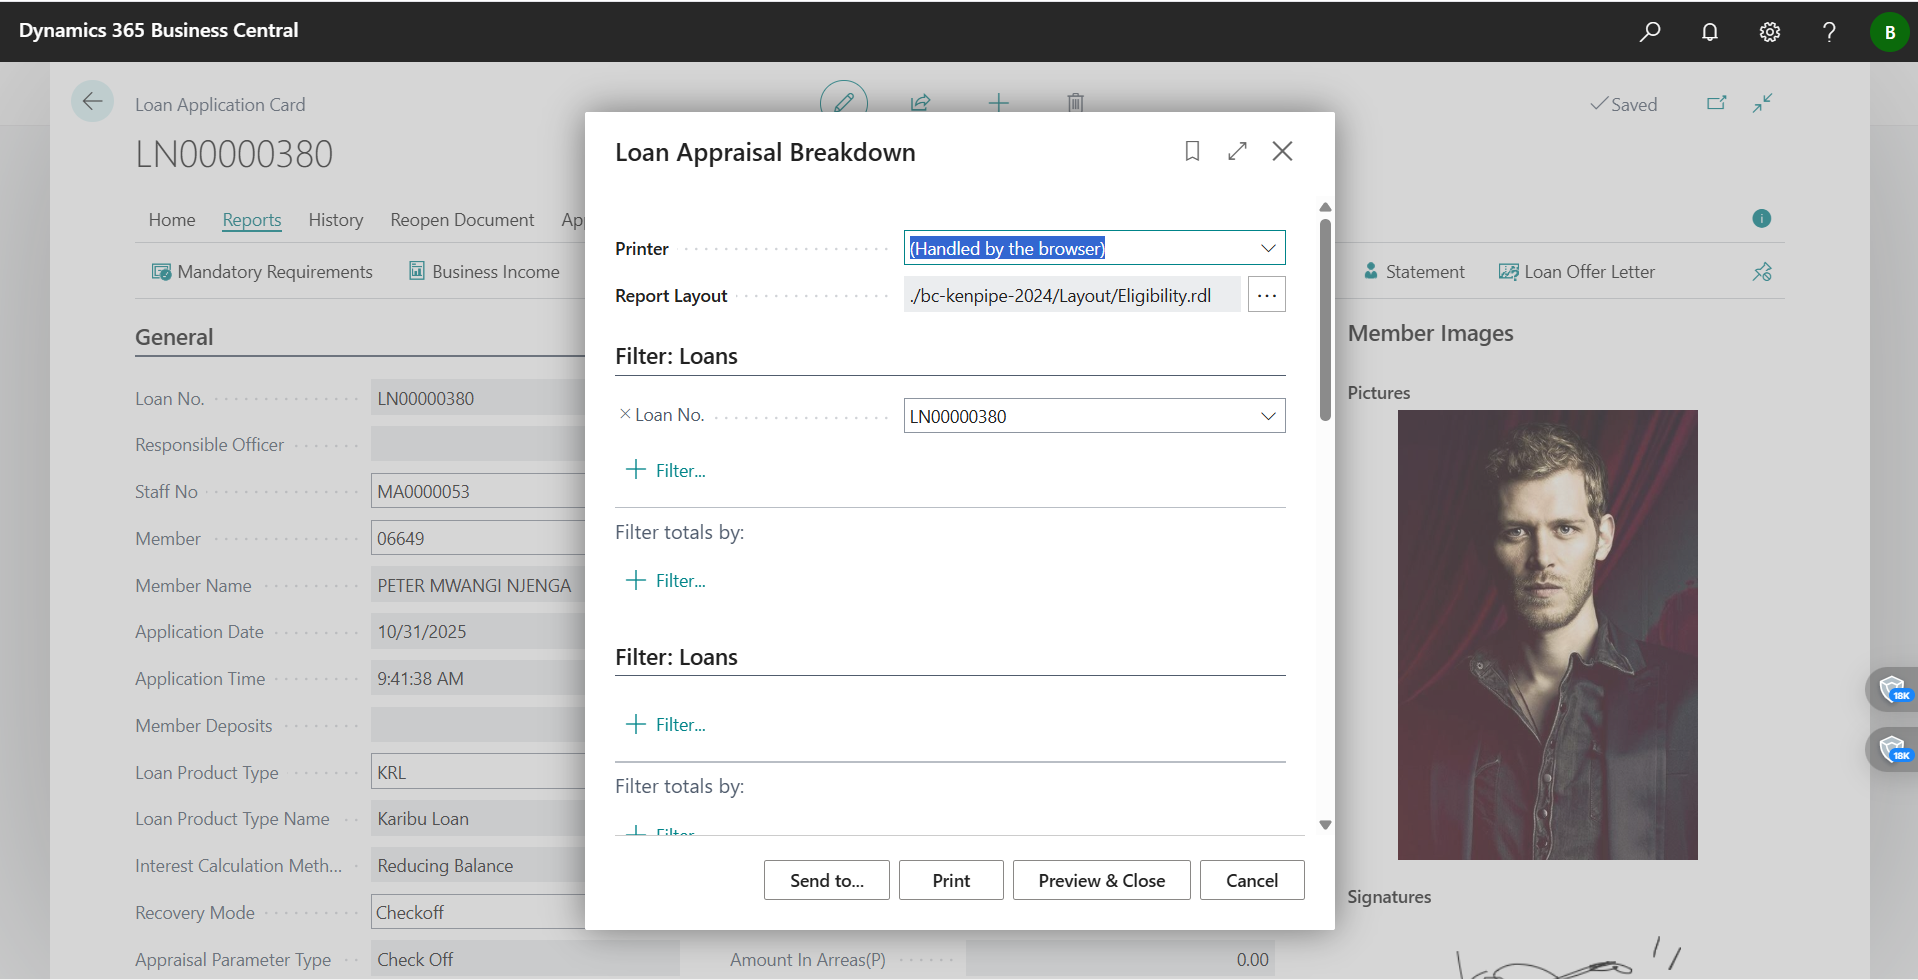
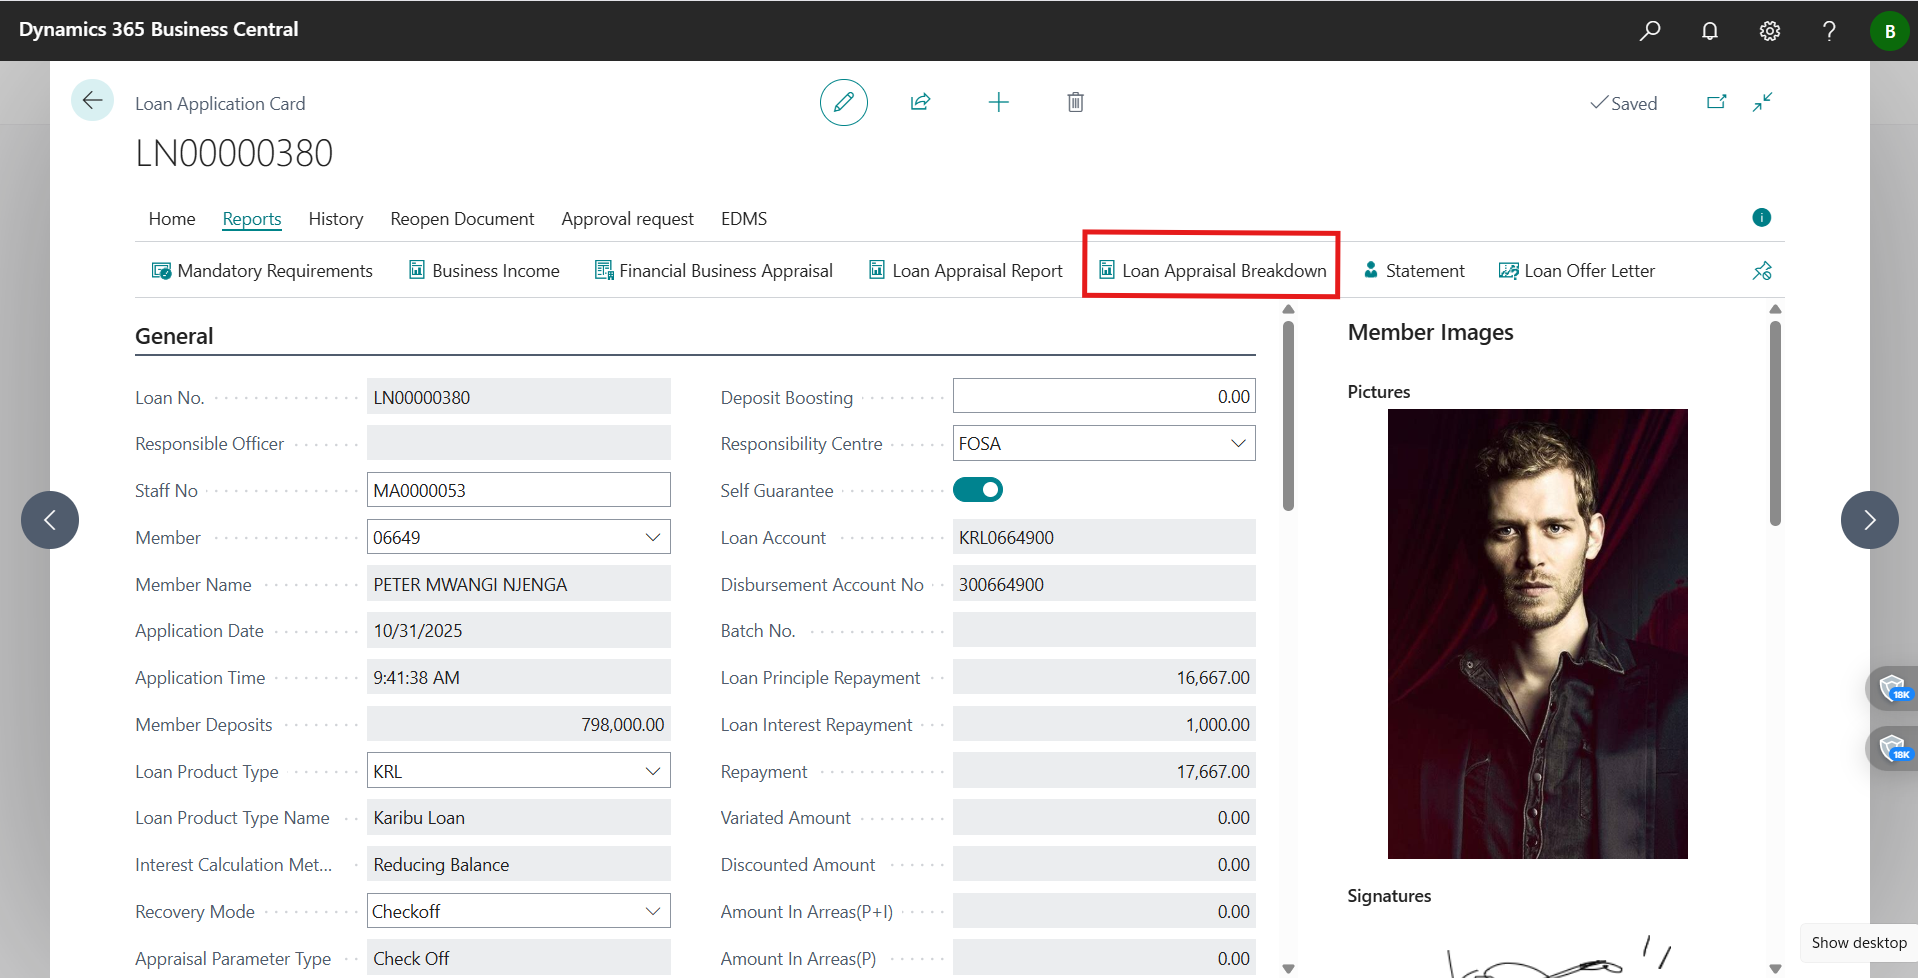
Step 3 — Run the Eligibility Breakdown and read the KPIs
- Choose Appraisal > Eligibility Breakdown to calculate eligibility based on the captured financials and product rules.
- Compare what you see on screen to the PDF to validate figures (share multiple cap, DTI, recommended amount/term, and any exception flags).
- Visuals:
- On-screen breakdown:
- Detailed reference: loan eligibility breakdown.pdf
- On-screen breakdown:
- What to check before moving on:
- Requested vs. share‑multiple cap
- DTI against product threshold (note any exception)
- Recommended amount/term and conditions I must enforce
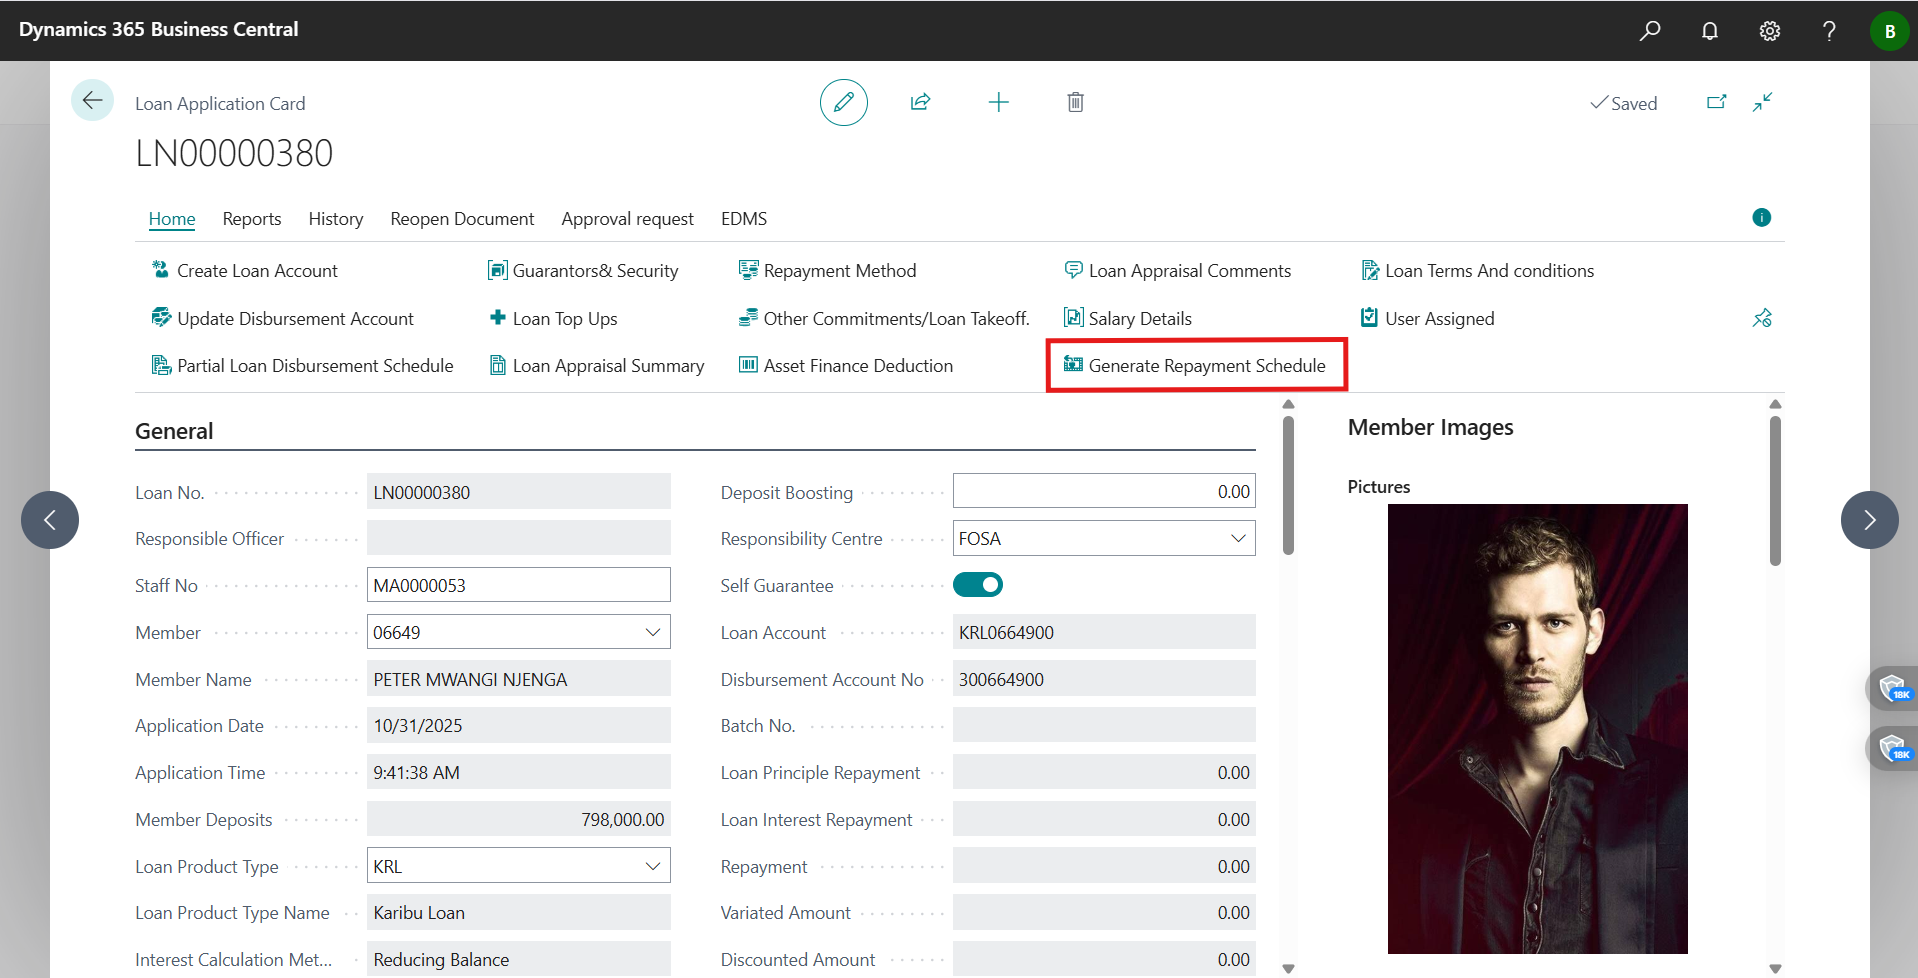
Step 4 — Generate a Payment Schedule to validate affordability
- Click Appraisal > Generate Payment Schedule and confirm Principal, Rate, Term, Frequency, Grace (if any), and First Installment Date.
- Make sure installments, dates, and totals look right for the method (reducing/flat) before I commit.
- Visual:
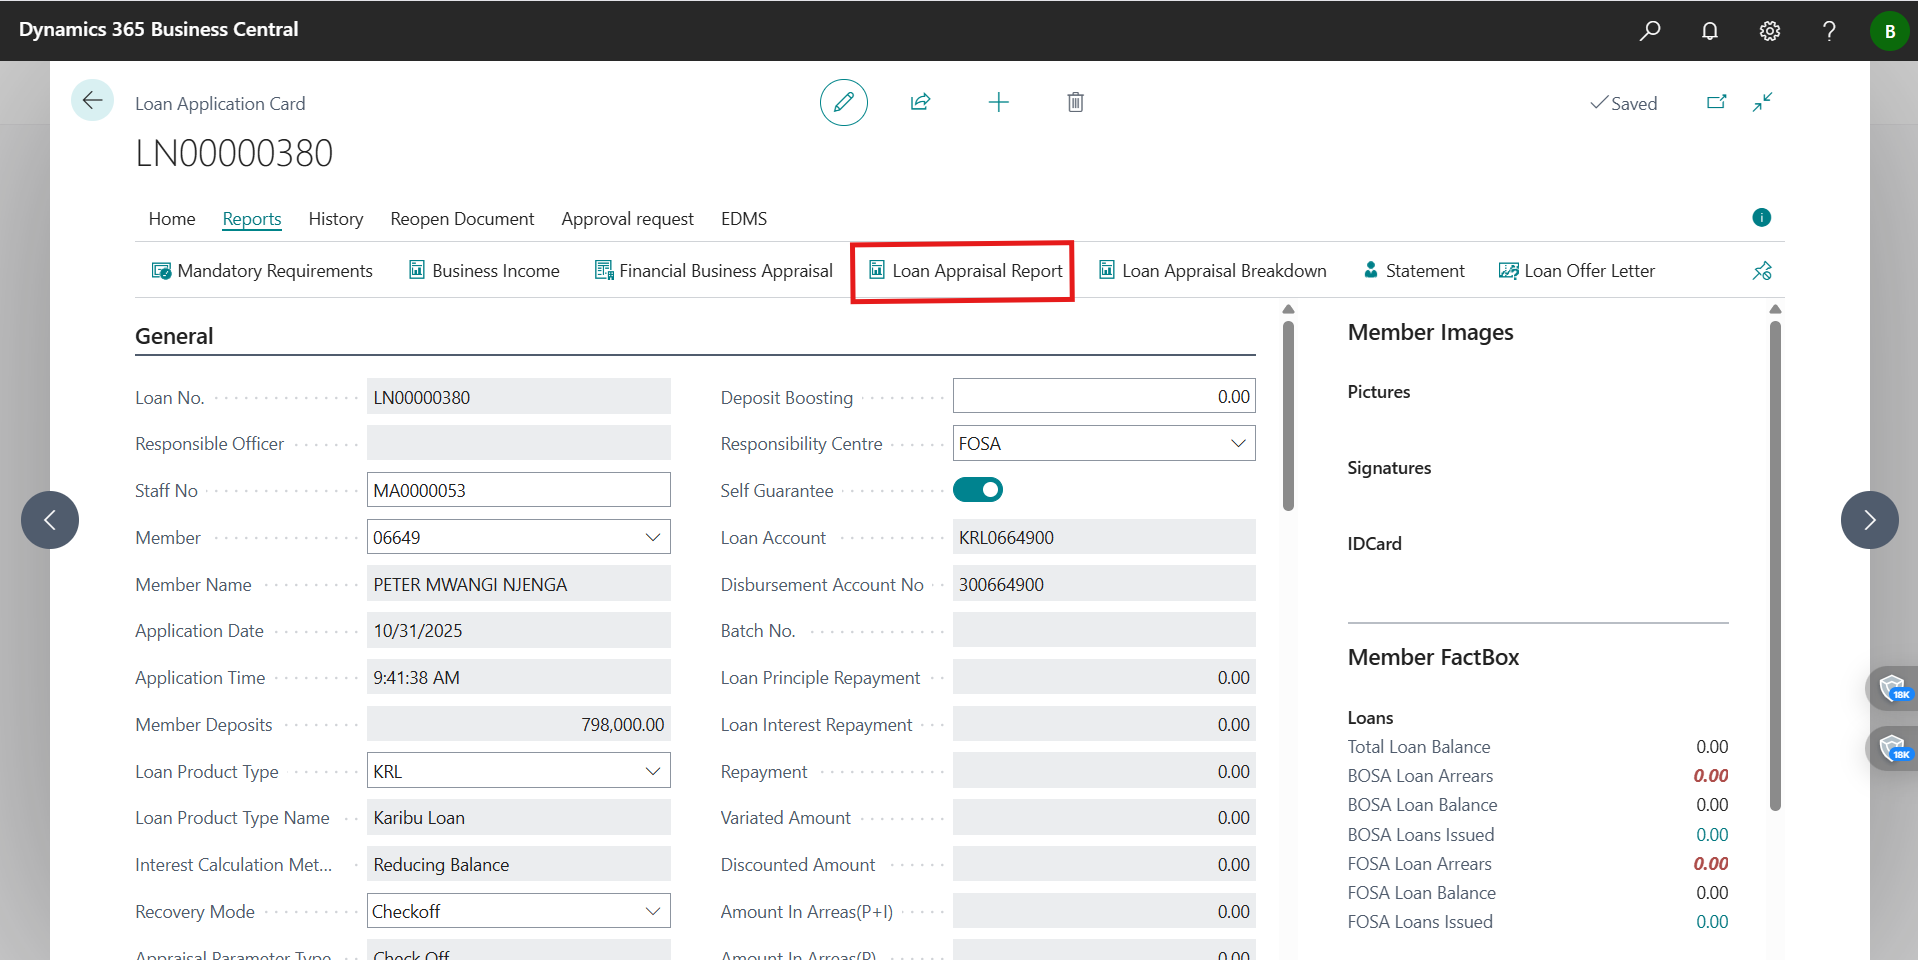
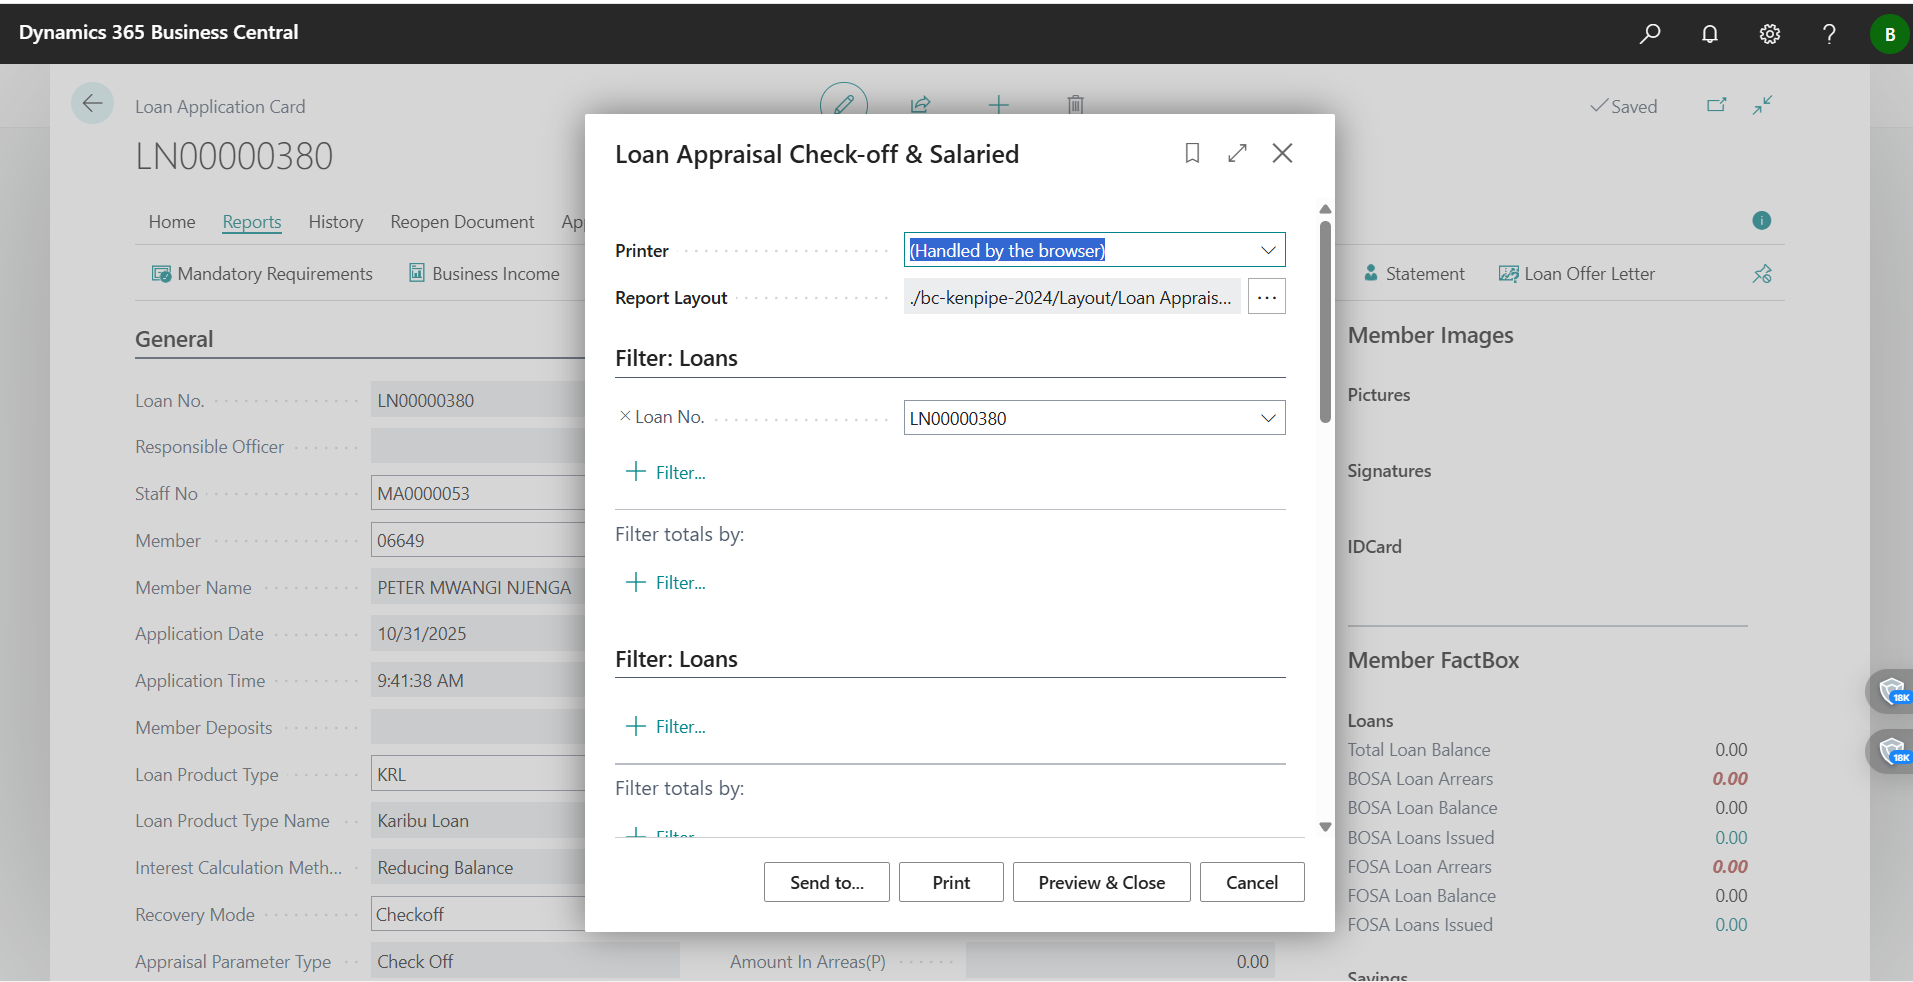
Step 5 — Generate and attach the Appraisal Report
- Use Appraisal > Generate Appraisal Report to compile the formal memo for approval.
- Verify it includes member profile, incomes/obligations, collateral/guarantors, eligibility KPIs, schedule summary, and any conditions; then I attach the PDF to the application.
- Visuals:
- Action:
- Preview:
- Action:
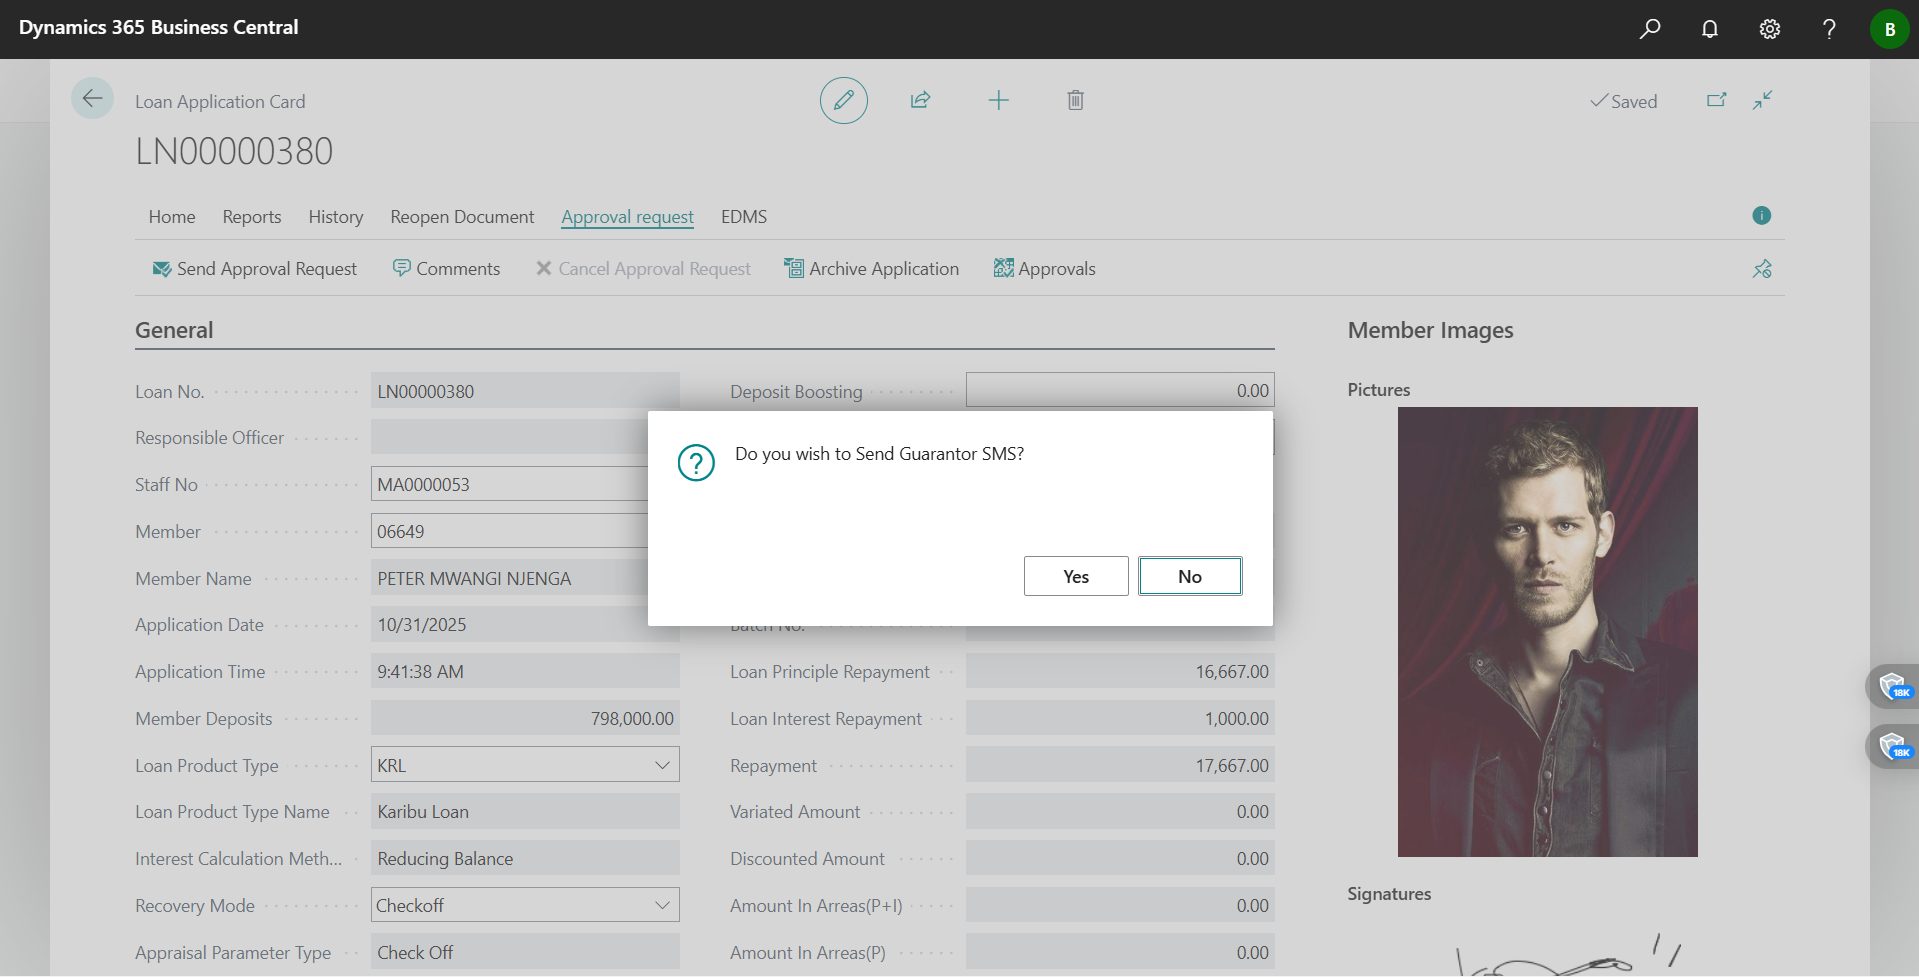
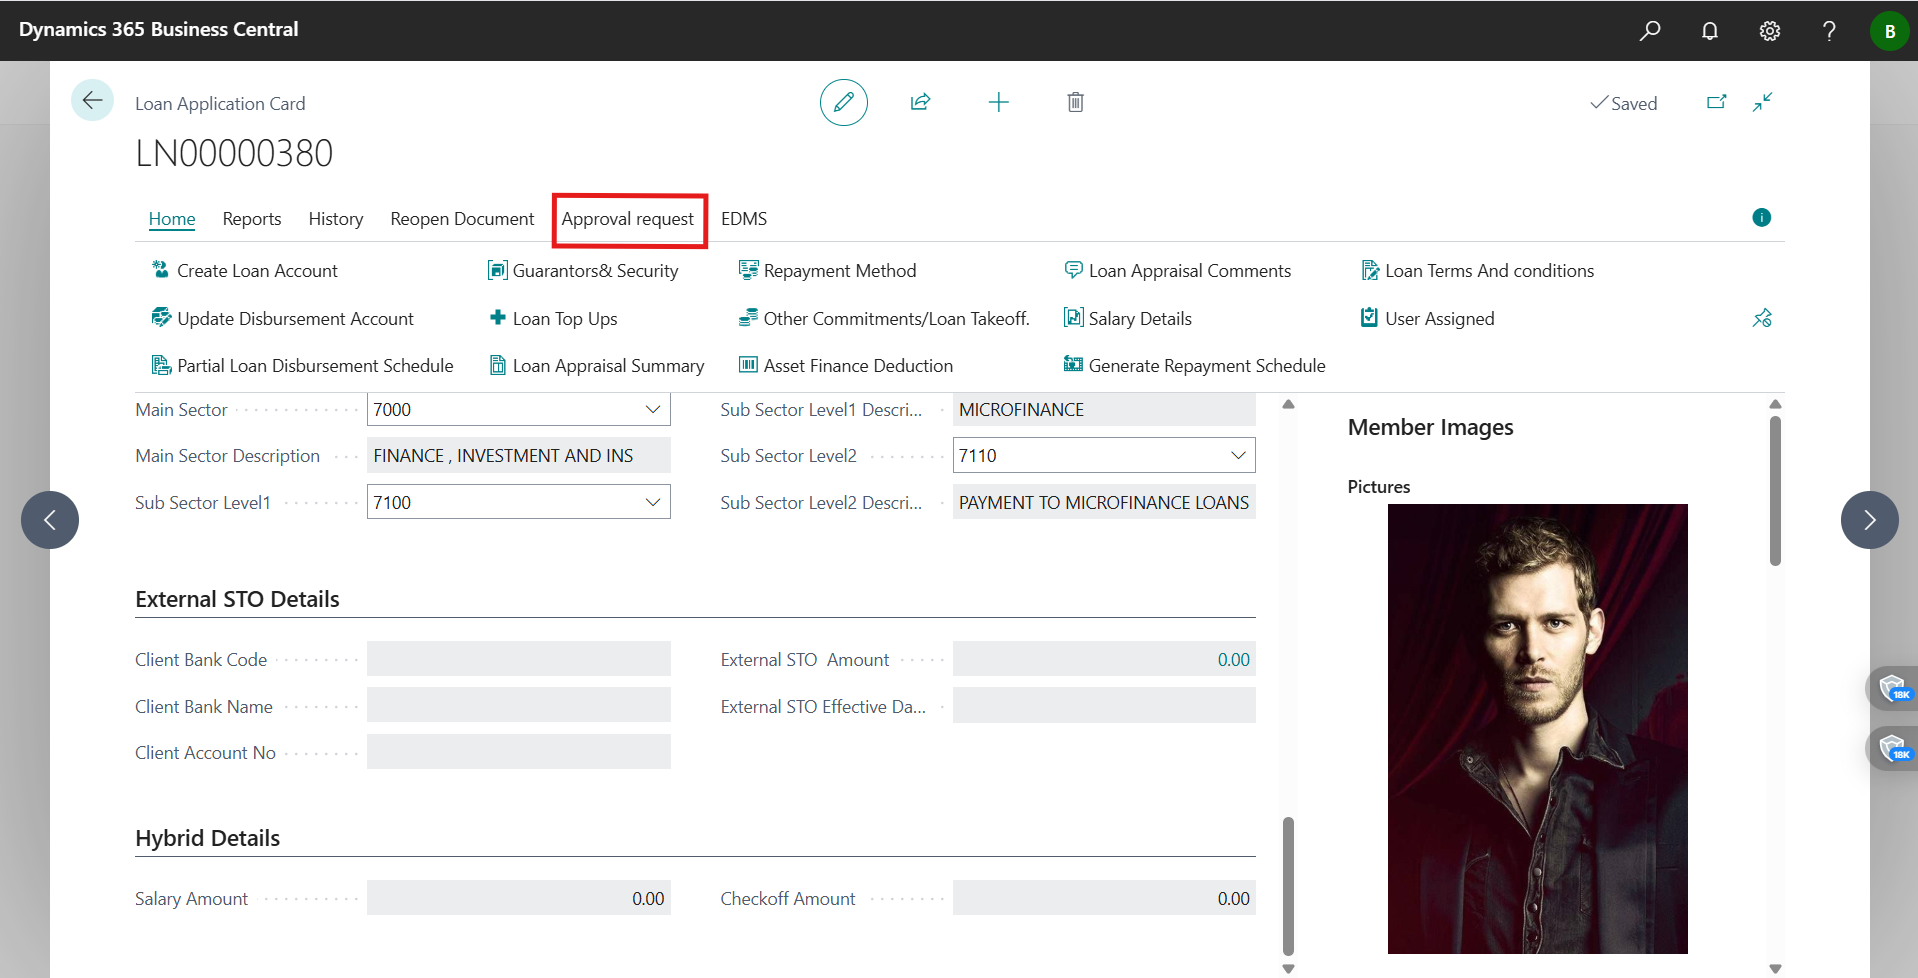
Step 6 — Send the appraised loan for approval
- From the application, click Send for Approval and add a short message: recommended amount/term, any exceptions, and key conditions (e.g., extra guarantor, share top‑up).
- Visual:

- Result: Approval Entries are created and the document locks while it’s pending.
Step 7 — How the approver acts on the request
- The approver opens Approvals > Requests to Approve, opens the loan, and reviews my Header, Appraisal/Financials, Collateral/Guarantors, Schedule, Attachments, and the Appraisal Report.
- Visual:
- Actions they can take (as shown): Approve, Reject (with a comment), Delegate, or Request Changes. I always read their comments for the audit trail and re‑submit if asked.
What each screenshot proves in my flow
- appraisal button.png — Where I access the Appraisal menu on the application card.
- Loan Appraisal Breakdown.png — The live eligibility KPIs I reviewed (share multiple, DTI, recommended amount/term).
- loan eligibility breakdown.pdf — The detailed numbers I relied on for the memo.
- Generate Payment Schedule.png — The exact parameter dialog I used to validate affordability.
- generate appraisal report.png & preview Appraisal Report.png — The report action and the preview I checked before attaching.
- send loan for approval.png — The action I used to trigger the workflow.
- Approval actions.png — The approver’s decision buttons I expect them to use.
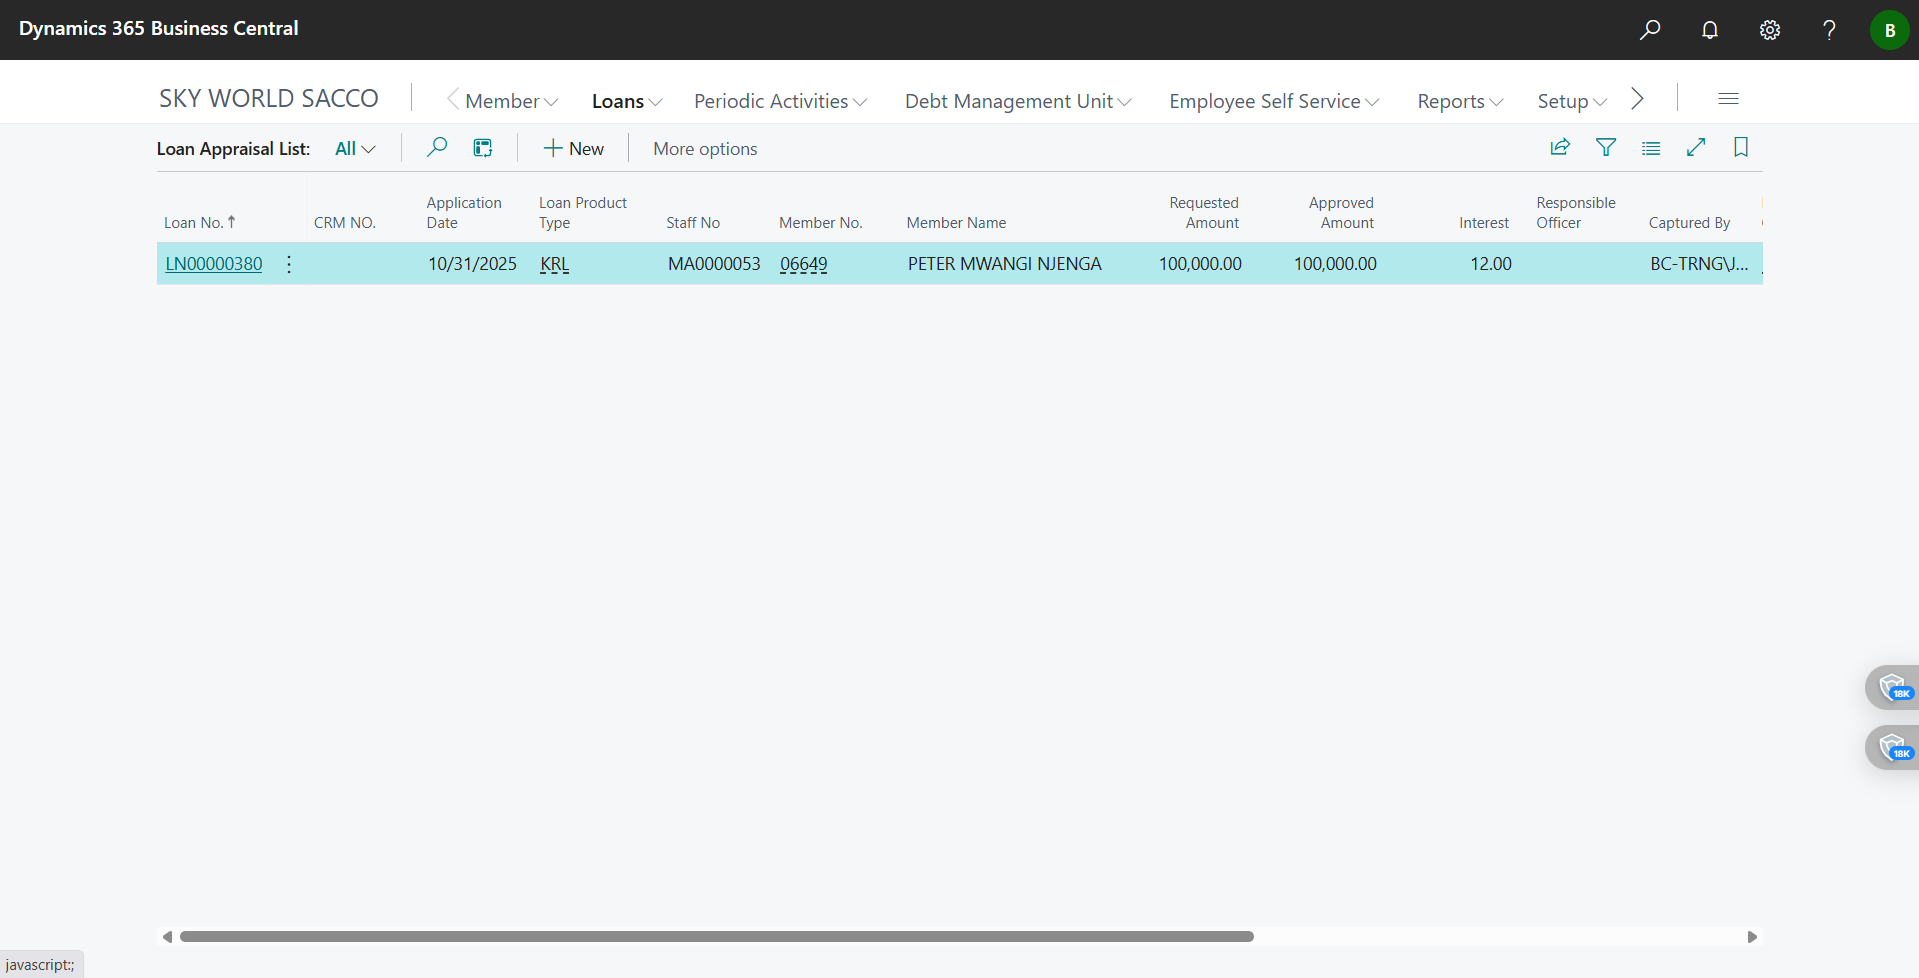
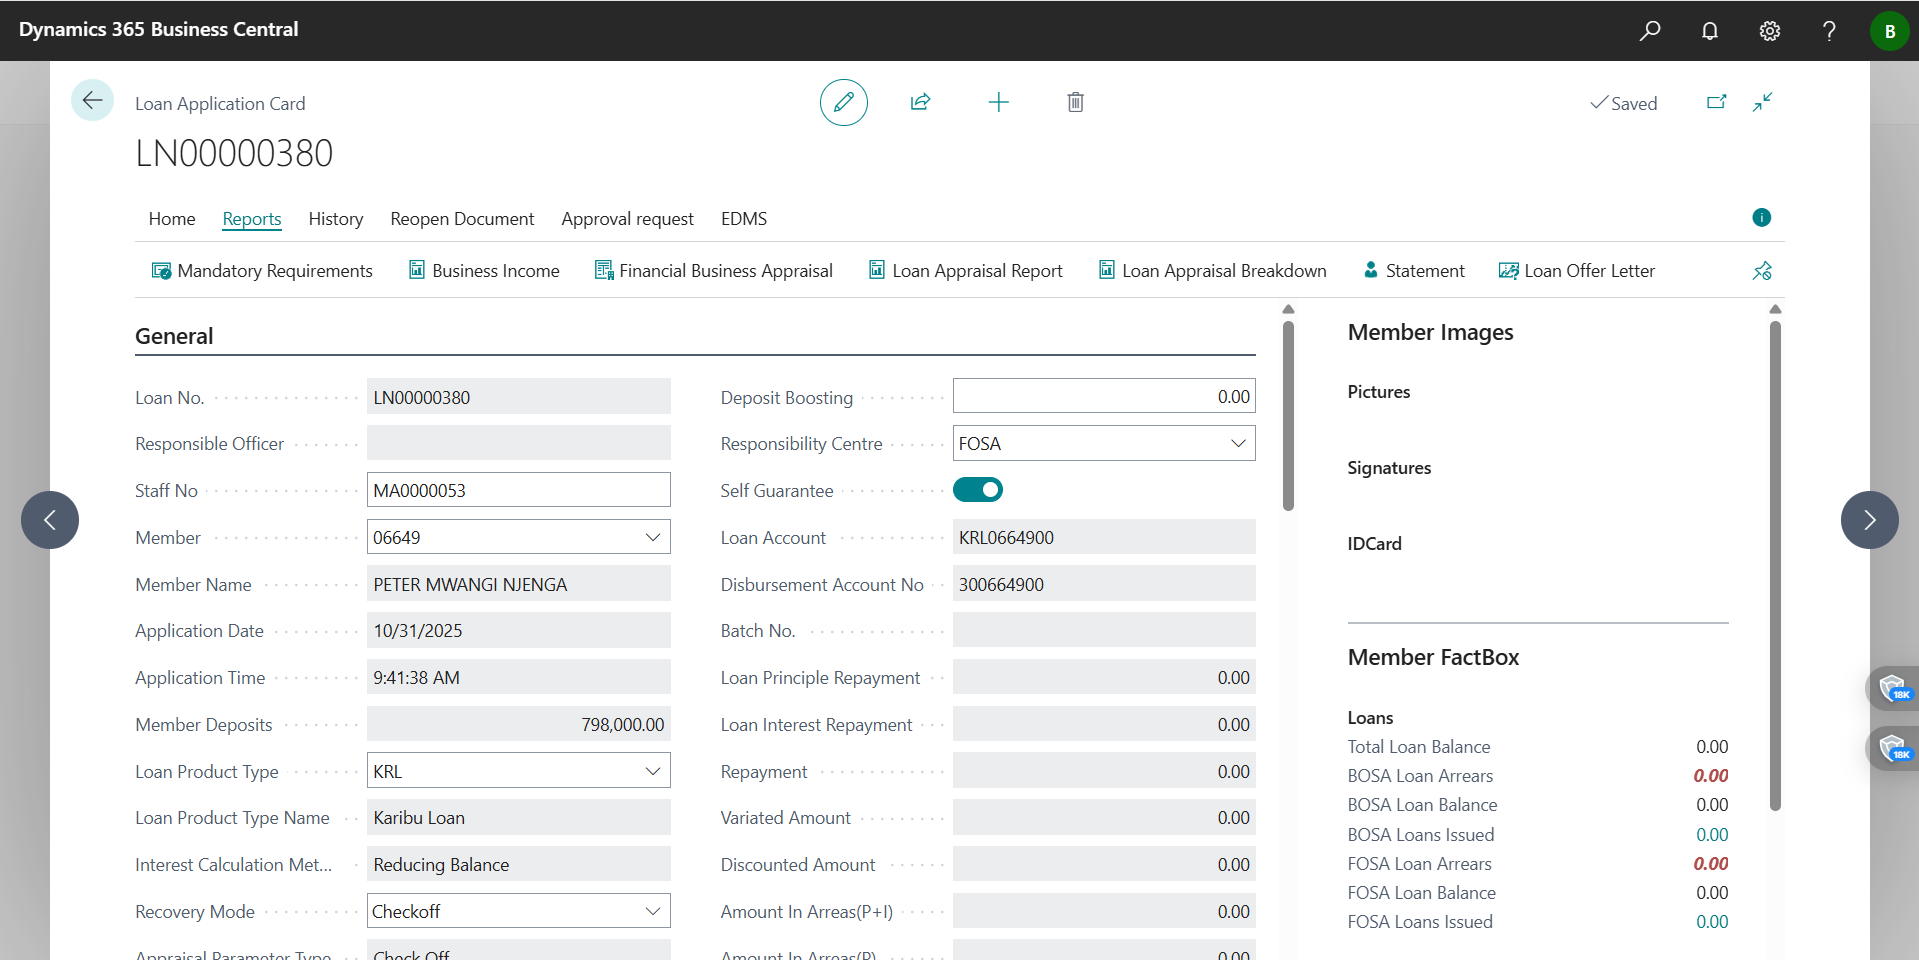
- Screenshot 2025-10-31 *.png — The application pages/tabs I edited and double‑checked during appraisal.
The data I make sure to capture before approval
- Member & Product: Member No./Name; Product Code/Name
- Amount & Tenor: Requested vs. Recommended Amount; Requested vs. Recommended Term
- Income & Obligations: Gross/Net monthly income; other recurring income; existing installments; deductions/expenses
- Eligibility KPIs: Share‑multiple cap; DTI; net pay/allowable deduction; exceptions and rationale
- Collateral/Guarantors: Values and coverage %; guarantor exposure/limits
- Schedule summary: Frequency; first installment date; total interest/repayment
- Attachments: Appraisal Report PDF; appraisal form; eligibility breakdown PDF; KYC evidence
How I keep control and a clean audit trail
- I rely on maker‑checker via approvals so my document locks while pending.
- I put concise, decision‑ready comments in the approval message and attach the PDFs.
- I keep all adjustments (like conditions or exceptions) written in both the report and approval comments.
If I hit a snag (what I do)
- Appraisal actions not visible → I confirm I’m on a Loan Application card, have permission, and the product is Released.
- Eligibility Breakdown empty → I re‑enter missing income/obligations/product data and run it again.
- Can’t generate schedule → I fill principal, rate, term, frequency, and first installment date; then retry.
- Appraisal Report won’t open → I check that the report is published and allow pop‑ups.
- Can’t send for approval → I confirm Approver User Setup, workflow activation, and approver limits.
- Approver can’t act → I check Approval Entries for delegation or substitutes and nudge the current assignee.
Appendix — The exact images and documents I used
- loan eligibility breakdown.pdf
- Context screenshots I referenced: